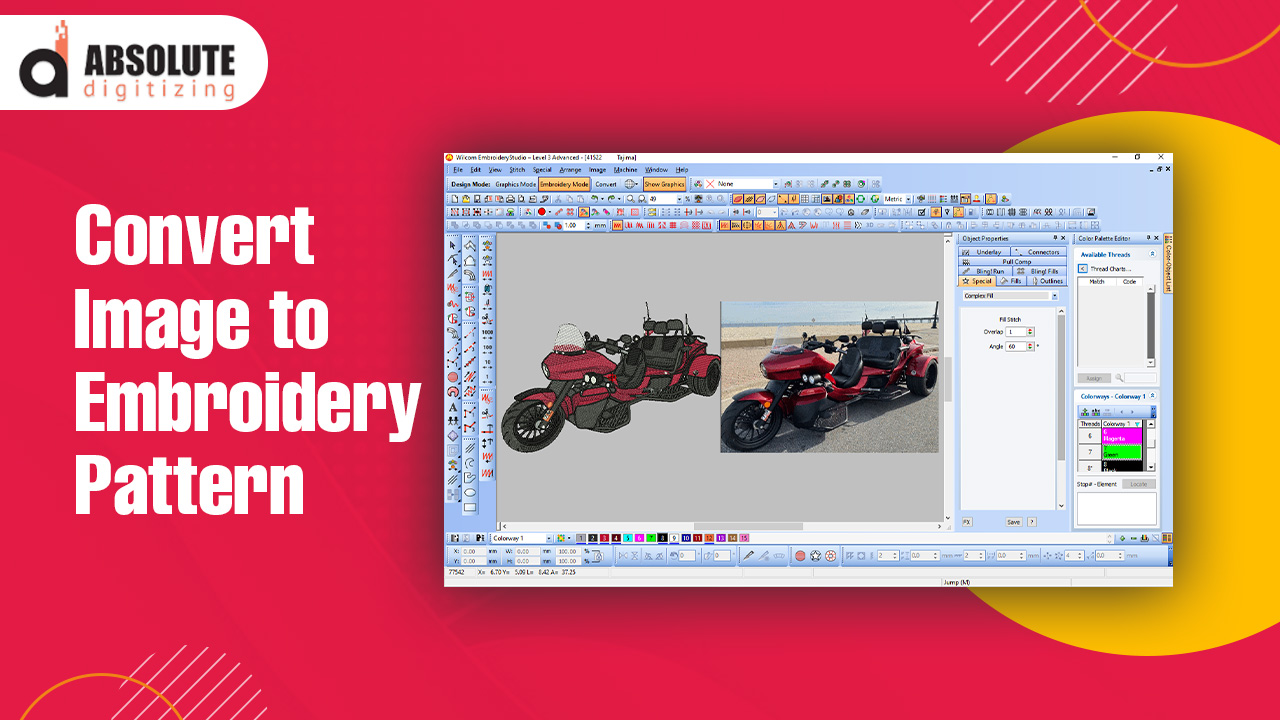
What Is an Embroidery File?
Embroidery files are digital instructions that embroidery machines read to stitch a design onto fabric. These files contain details about stitch paths, types, and densities.
Importance of Embroidery Files
- Precision: Embroidery files ensure the machine follows exact design specifications.
- Efficiency: They minimize errors and maximize stitch speed.
- Versatility: These files work with various machines, making them essential for custom designs.
Why Convert an Image to an Embroidery File?
Preserve Artistic Integrity
Turning an image into an embroidery file allows you to replicate the original design’s beauty on fabric.
Expand Creative Possibilities
With embroidery files, you can bring photographs, logos, and even hand-drawn sketches to life.
Streamline Production
Using embroidery files ensures consistency, making it ideal for mass production.
Essential Tools for Image Conversion
Embroidery Digitization Software
- Wilcom: Ideal for professionals with advanced features.
- Hatch: User-friendly and perfect for beginners.
- Brother PE-Design: Great for personal and small business use.
Hardware Requirements
- A computer with robust processing power.
- An embroidery machine compatible with the file format.
Image Editing Software
Before digitization, you might need to tweak the image using programs like Adobe Photoshop or GIMP.
Step-by-Step Guide to Convert Image to Embroidery File by Absolute Digitizing
Step 1: Prepare the Image
- Choose the Right Image: Opt for high-resolution and simple designs.
- Edit as Needed: Remove unnecessary elements and enhance clarity.
Step 2: Import the Image into Digitization Software
- Upload the image into your chosen embroidery software.
- Adjust the canvas size to match your embroidery machine’s hoop size.
Step 3: Trace and Set Stitch Types
- Use the software tools to trace the image.
- Assign stitch types like satin, fill, or running stitch based on design elements.
Step 4: Adjust Stitch Density and Directions
- Set stitch density to prevent fabric puckering.
- Adjust directions to enhance design durability.
Step 5: Preview and Export
- Preview the design in a stitch simulator.
- Save the file in the required format (.DST, .PES, .EXP, etc.).
Common Challenges in Image Conversion
Complex Designs
Detailed images can be hard to digitize. Simplify these designs to avoid messy stitches.
Fabric Compatibility
Not all designs work well on every fabric. Choose fabrics that support your chosen stitches.
Learning Curve
Digitizing software can be complex. Invest time in learning or consider hiring professionals.
Tips for High-Quality Embroidery File Conversion
Start Simple
Focus on clean, simple designs to ensure clarity and precision.
Test Your File
Always test the design on scrap fabric before full production.
Invest in Training
Mastering embroidery digitization software can elevate your craft.
Popular Applications of Embroidery Files
Custom Apparel
Personalize hats, jackets, and shirts with unique designs.
Home Décor
Create embroidered cushions, curtains, and tablecloths.
Corporate Branding
Embroidery files are perfect for stitching company logos on uniforms and promotional materials.
FAQs About Converting Images to Embroidery Files
What File Formats Are Commonly Used?
- Popular formats include .DST, .PES, .EXP, and .JEF.
Can I Convert Any Image?
- Most images can be converted, but simpler designs yield better results.
Is Professional Help Necessary?
- While it’s possible to learn, professionals can save time and ensure top-notch results.
Conclusion
Converting an image into an embroidery file is an art and science. With the right tools, techniques, and practice, you can create stunning embroidered designs that bring your visions to life. Whether it’s for personal projects or professional use, mastering this skill is a gateway to endless creative possibilities.


Leave a Reply