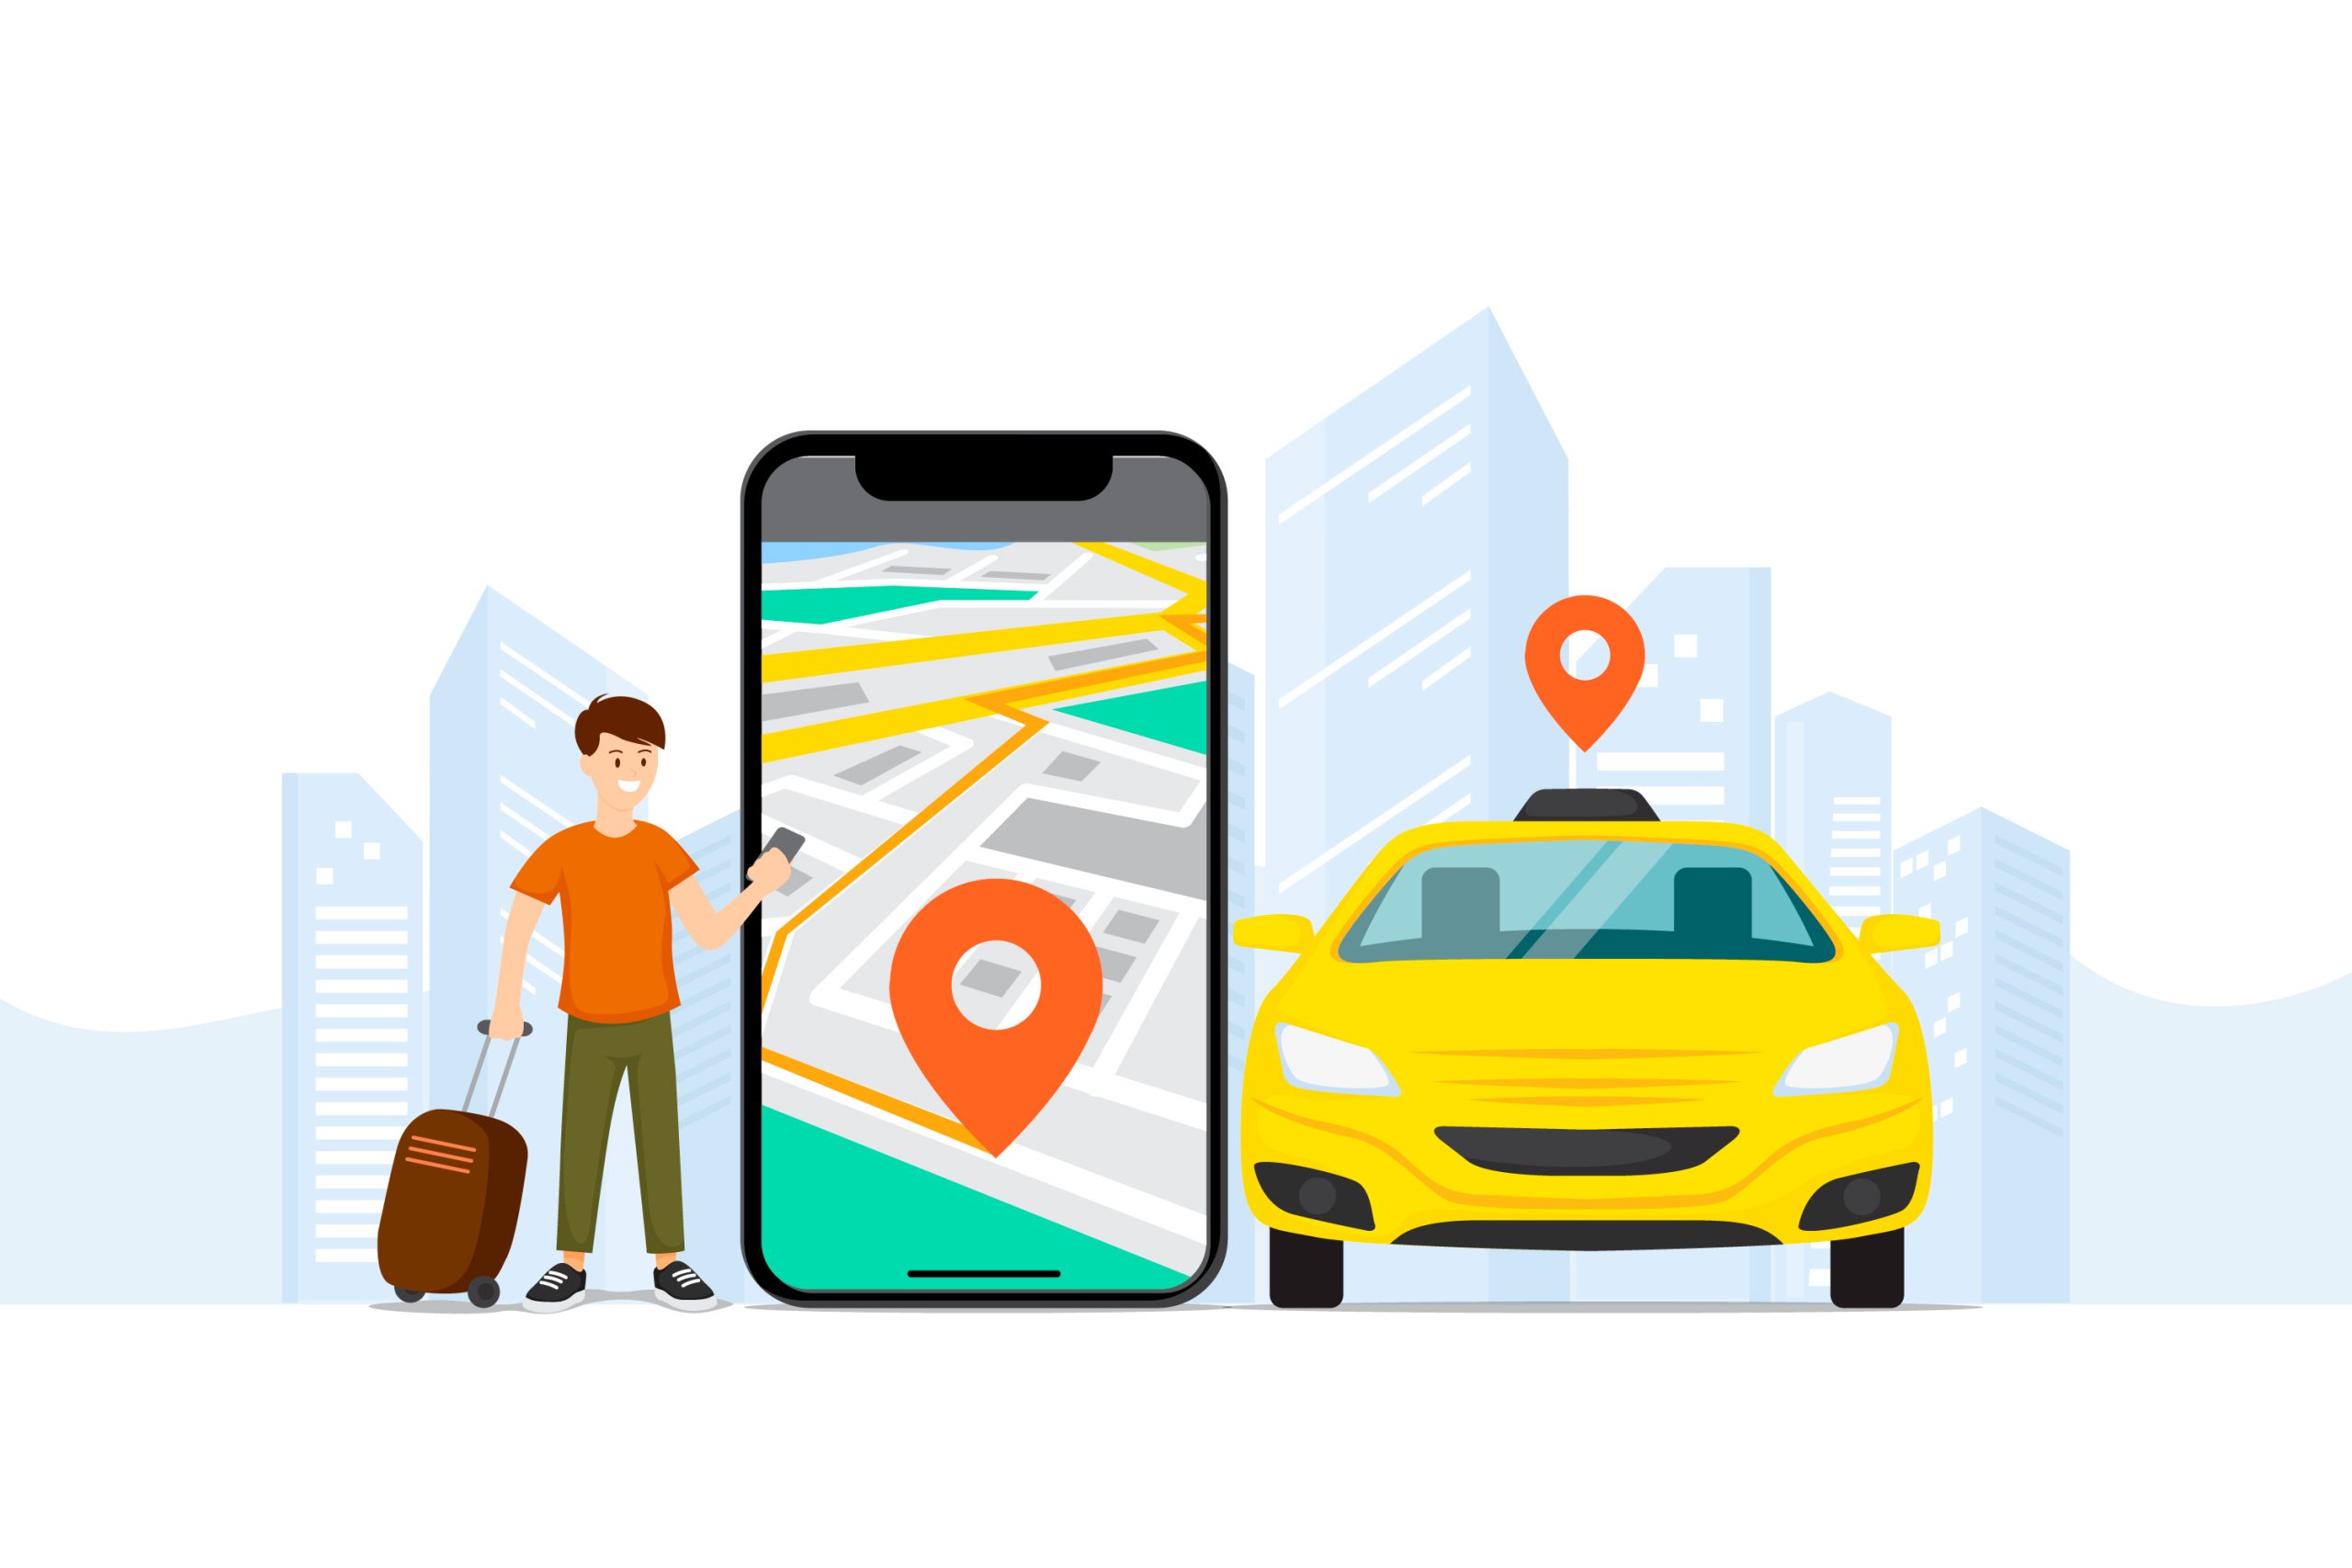
The global ride-hailing market has grown exponentially, driven by the convenience and efficiency offered by apps like Uber. If you’re looking to create an Uber-like app, focusing on user-friendliness is essential to ensure a seamless experience for both riders and drivers. In this blog, we’ll outline 10 actionable steps to help you develop a user-friendly Uber-like app and set your business on the path to success.
Step 1: Conduct Market Research
Before diving into development, research your target audience and competitors. Identify the specific needs and preferences of your potential users. For instance, are they looking for budget-friendly rides, luxury options, or specialized services like wheelchair-accessible vehicles? Understanding these requirements will help you design a product that stands out in the crowded market.
Key Actions:
- Analyze existing ride-hailing apps.
- Identify gaps in the market and user pain points.
- Define your app’s unique selling proposition (USP).
Step 2: Choose the Right Business Model
An Uber-like app can follow various business models, such as commission-based, subscription-based, or a hybrid approach. Decide which model aligns best with your revenue goals and user expectations.
Popular Options:
- Commission-Based: Charge a percentage on each ride.
- Subscription-Based: Offer drivers or users subscription plans for added benefits.
Step 3: Define the Core Features
To create an Uber-like app, your platform must include essential features for riders, drivers, and administrators. Ensure these features are intuitive and enhance user satisfaction.
Rider Features:
- Ride booking and cancellation.
- Real-time tracking and estimated time of arrival (ETA).
- Fare estimation and multiple payment options.
Driver Features:
- Trip acceptance/rejection.
- Route optimization and navigation.
- Earnings tracking and flexible availability settings.
Admin Features:
- Manage user and driver profiles.
- Monitor app performance and transactions.
- Address disputes and enforce policies.
Step 4: Design an Intuitive User Interface (UI)
A clean and visually appealing UI is crucial for user-friendliness. Ensure your app is easy to navigate, with clear buttons, icons, and prompts that guide users effortlessly through booking or accepting rides.
Tips for Better UI:
- Use simple and consistent layouts.
- Implement clear labels and instructions.
- Optimize the app for both Android and iOS platforms.
Step 5: Select a Robust Technology Stack
Choosing the right technology stack ensures your app’s performance, scalability, and security. For a user-friendly app, prioritize technologies that enable fast loading times, smooth interactions, and reliable operations.
Recommended Stack:
- Front-End: React Native, Flutter.
- Back-End: Node.js, Django, Laravel.
- Database: MongoDB, MySQL.
- Cloud Hosting: AWS, Microsoft Azure.
Step 6: Develop an MVP (Minimum Viable Product)
Launching with a Minimum Viable Product (MVP) allows you to test your app’s core features and gather feedback. It minimizes risks and helps you understand user preferences early on.
MVP Features:
- Basic ride-booking functionality.
- GPS tracking and navigation.
- Payment gateway integration.
Step 7: Integrate Advanced Features
Once your MVP is validated, enhance your app with advanced features to improve usability and attract more users.
Must-Have Add-Ons:
- Ride Scheduling: Allow users to book rides in advance.
- Multi-Language Support: Cater to a diverse audience.
- In-App Chat: Enable secure communication between riders and drivers.
- SOS Button: Improve safety for users and drivers.
Step 8: Test for User-Friendliness
Testing is a critical phase to ensure your app provides a smooth experience. Conduct multiple rounds of testing to identify and fix bugs, enhance performance, and validate user flows.
Testing Types:
- Functional Testing: Check if all features work as intended.
- Usability Testing: Gather user feedback on navigation and ease of use.
- Performance Testing: Test the app’s speed and reliability under different conditions.
Step 9: Launch and Market Your App
A well-planned launch and marketing strategy can set your app on the path to success. Focus on creating buzz and attracting users from day one.
Marketing Tips:
- Leverage social media and influencer marketing.
- Offer discounts or referral rewards for early adopters.
- Optimize your app store listing with compelling descriptions and visuals.
Step 10: Monitor and Optimize
After launch, continuous monitoring and optimization are essential to keep your app user-friendly and competitive. Use analytics tools to track performance, user behavior, and feedback.
Optimization Tips:
- Regularly update your app to include new features.
- Address user feedback promptly to improve satisfaction.
- Scale your infrastructure to handle increased demand.
How Much Does It Cost to Create an Uber-Like App?
The cost to create an Uber-like app depends on several factors, including the app’s complexity, the development team’s location, and the features you include.
Estimated Costs:
- Basic MVP: $30,000 to $50,000.
- Advanced App with Custom Features: $100,000 to $200,000 or more.
- Ongoing Maintenance: 15-20% of the initial development cost annually.
Outsourcing development to regions like Asia or Eastern Europe can help reduce costs while maintaining quality.
Conclusion
Building a user-friendly Uber-like app requires a well-thought-out strategy and a focus on seamless user experience. By following these 10 steps, you can successfully create an Uber-like app that caters to user needs, stands out in the competitive market, and drives long-term success for your business. Remember, the key to a successful ride-hailing app lies in understanding your audience, integrating the right features, and continuously optimizing for performance and usability.


Leave a Reply