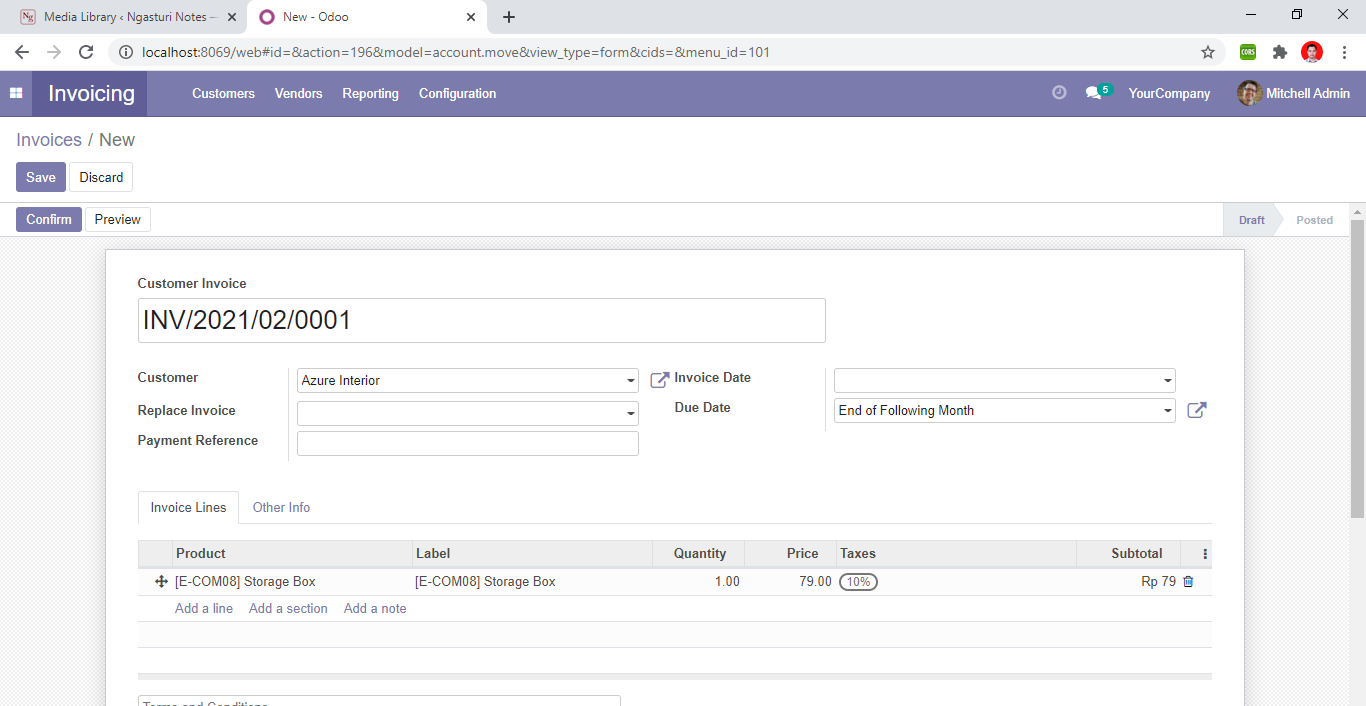
Efficient invoicing is an essential aspect of streamlining operations in any organization. With Odoo 18, a leading Business Management Software, automating the process of generating invoices can save time and reduce manual errors. This article walks you through the steps to set up automatic invoicing for sales orders in Odoo 18, ensuring smoother workflows and enhanced productivity.
Understanding the Sales and Invoicing Workflow in Odoo 18
Before diving into the automation process, it is crucial to understand the sales and invoicing workflow in Odoo 18. The process begins with creating a sales order, which serves as a record of the products or services requested by a customer. Once the sales order is confirmed, Odoo triggers the invoicing process based on predefined settings.
In Odoo, invoices can be generated manually or automatically. The latter is ideal for businesses aiming to minimize administrative tasks. Automation involves configuring settings that link sales orders directly to invoice creation. These settings include payment terms, invoice policies, and sales order templates.
Configuring Invoice Settings for Automation
To enable automatic invoice generation, you need to configure specific settings in Odoo. Follow these steps:
- Access the Invoicing Module:
- Navigate to the Invoicing module in your Odoo dashboard.
- Open the configuration settings.
- Enable Automation Features:
- Look for the option labeled “Automatically Create Invoices” or similar.
- Ensure this option is activated to enable automation.
- Set Default Invoicing Options:
- Configure default invoicing options, such as currency, tax policies, and product-specific invoicing rules.
By enabling these settings, you establish the foundation for seamless invoice automation.
Setting Up Payment Terms and Invoice Policies
Payment terms and invoice policies determine when and how invoices are generated. Setting these up correctly ensures that invoices align with your business requirements. Here’s how:
- Configure Payment Terms:
- Go to the Accounting module and select Payment Terms under the Configuration menu.
- Define terms such as Net 30, Immediate Payment, or Custom Terms based on your agreements with customers.
- Set Invoice Policies for Products:
- Open the Sales module and navigate to Products.
- For each product, specify the invoice policy: “Invoice on Ordered Quantities” or “Invoice on Delivered Quantities.”
Choosing the right payment terms and invoice policies ensures that invoices reflect the correct amounts and timings.
Enabling Automatic Invoicing in Sales Order Templates
Sales order templates play a critical role in automating invoice generation. These templates standardize the process and reduce the need for manual interventions.
Create or Edit a Sales Order Template:
- In the Sales module, navigate to Configuration > Sales Order Templates.
- Create a new template or edit an existing one to include products, services, and pricing details.
Enable Automatic Invoicing:
- Add a setting within the template to trigger invoice generation upon sales order confirmation.
- Specify if invoices should be generated partially or fully, based on the order status.
By customizing these templates, you can automate invoicing for recurring or standardized orders effortlessly.
Creating a Sales Order to Trigger Invoice Generation
Once the configuration is complete, creating a sales order will initiate the automatic invoicing process. Follow these steps:
- Create a New Sales Order:
- Open the Sales module and click on “Create.”
- Fill in the customer details, products or services, quantities, and pricing.
- Select a Sales Order Template:
- Choose the template that includes the automated invoicing settings.
- Confirm the Sales Order:
- Click on “Confirm” to finalize the sales order. This action will trigger the automated invoicing process.
Once the order is confirmed, Odoo will automatically generate an invoice based on the configured settings.
Reviewing and Validating the Automatically Generated Invoice
After the invoice is generated, it is essential to review and validate it to ensure accuracy.
- Locate the Invoice:
- Go to the Invoicing module and find the invoice associated with the sales order.
- Review Invoice Details:
- Verify the customer information, product details, quantities, taxes, and payment terms.
- Validate the Invoice:
- If all details are correct, click on “Validate” to finalize the invoice.
- Share the invoice with the customer through email or a customer portal.
By reviewing invoices, you can avoid discrepancies and maintain professionalism in your transactions.
Tips for Troubleshooting Common Invoice Automation Issues
While Odoo 18 is robust, issues may arise during the automation process. Here are tips to troubleshoot common problems:
- Invoice Not Generated:
- Check if the “Automatically Create Invoices” option is enabled.
- Verify that the sales order template includes the correct settings.
- Incorrect Invoice Details:
- Ensure that payment terms, invoice policies, and product configurations are accurate.
- System Errors:
- Update your Odoo instance to the latest version to resolve potential bugs.
- Check user permissions to ensure access to relevant modules and settings.
- Duplicate Invoices:
- Review workflows to ensure that multiple triggers do not initiate invoice creation.
With these tips, you can resolve issues promptly and maintain smooth invoicing operations.
Conclusion
Automating invoice generation in Odoo 18 enhances efficiency and reduces administrative burdens. By understanding the sales and invoicing workflow, configuring settings, and leveraging templates, you can streamline your business operations. Whether you are a small business or a large enterprise, implementing these steps will ensure that your invoicing process is both reliable and scalable.


Leave a Reply