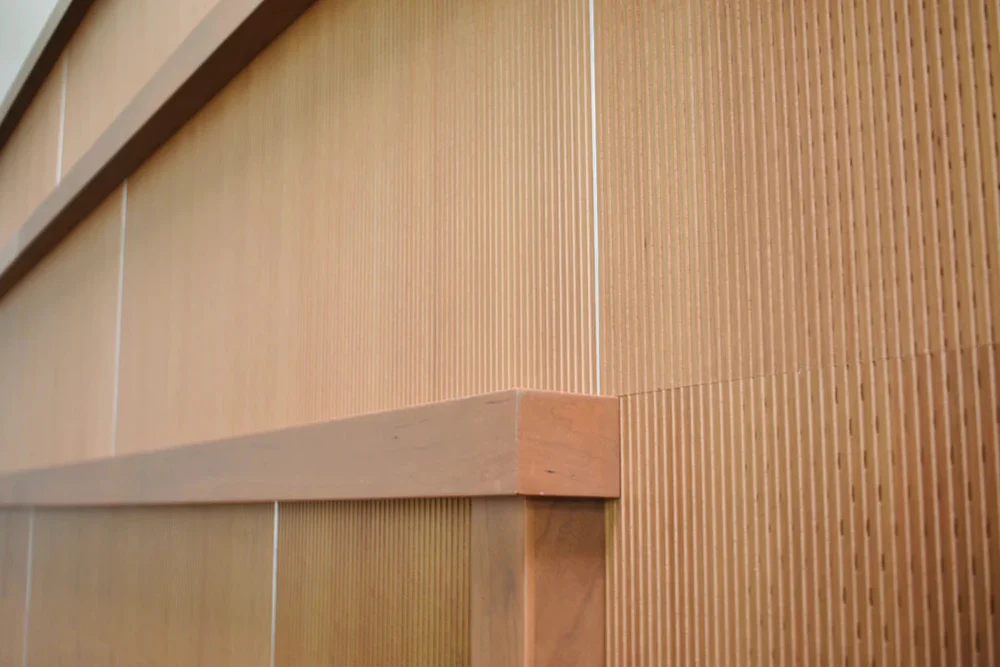
Acoustic wood wall panels are a stylish and effective way to enhance sound quality and aesthetics in any space. Whether you’re upgrading an office, home, or commercial area, proper installation is crucial for achieving the best results. This step-by-step guide will walk you through the process of installing acoustic wood wall panels, ensuring a seamless finish and optimal sound performance.
Why Choose Acoustic Wood Wall Panels?
Before diving into the installation process, let’s understand why acoustic wood wall panels are a popular choice:
- Improved Acoustics: Reduce echo and noise, creating a peaceful environment.
- Aesthetic Appeal: Enhance the visual appeal of interiors with a natural and modern look.
- Durability: Made from high-quality wood, these panels are long-lasting.
- Versatility: Suitable for offices, homes, theaters, and restaurants.
Tools and Materials You’ll Need
Before starting, gather the following tools and materials:
- Acoustic wood wall panels
- Measuring tape
- Pencil and level
- Adhesive or mounting clips (as recommended by the manufacturer)
- Screws and screwdriver/drill
- Saw (if panels need trimming)
- Safety gear (gloves, goggles)
Step 1: Prepare the Wall
Proper wall preparation is the foundation of a successful installation.
- Clean the Wall: Remove dust, dirt, and debris using a damp cloth.
- Repair Imperfections: Fill in holes or cracks with putty and sand the surface for smoothness.
- Ensure Dryness: The wall must be completely dry before starting.
Step 2: Measure and Mark the Area
Accurate measurements ensure the panels fit perfectly.
- Measure the Wall: Use a measuring tape to determine the dimensions of the wall area where the panels will be installed.
- Plan the Layout: Decide on the arrangement (horizontal, vertical, or patterned). Dry-lay the panels on the floor if needed.
- Mark the Wall: Use a pencil and level to draw guidelines for panel placement. This helps avoid uneven installation.
Step 3: Cut Panels to Size (If Needed)
For a precise fit, some panels may require trimming.
- Measure Twice, Cut Once: Double-check measurements before cutting the panels.
- Use the Right Tools: A fine-tooth saw works well for clean cuts. Wear safety goggles during this step.
- Smooth the Edges: Sand the edges of the cut panels to ensure a polished look.
Step 4: Attach the Panels to the Wall
Depending on the installation method, follow these steps:
Method 1: Adhesive Installation
- Choose the Right Adhesive: Use a high-quality construction adhesive suitable for wood panels.
- Apply Adhesive: Spread the adhesive on the back of the panel in a zigzag pattern.
- Position the Panel: Align the panel with the guidelines and press firmly against the wall.
- Secure the Panel: Hold the panel in place for a few seconds to ensure a strong bond.
Method 2: Mounting Clips or Screws
- Attach Clips: Fix mounting clips to the wall using screws, following the manufacturer’s instructions.
- Align the Panel: Slide or snap the panel into the clips.
- Secure the Panel: Use additional screws if required to ensure stability.
Step 5: Repeat for Remaining Panels
Work methodically to maintain alignment and spacing.
- Check Alignment Frequently: Use a level to ensure each panel is straight.
- Leave Expansion Gaps: Allow small gaps between panels to accommodate natural wood expansion.
- Inspect for Gaps: Use a caulk gun to fill minor gaps between panels if necessary.
Step 6: Finish the Installation
Once all panels are in place, complete the process with these finishing touches:
- Clean the Panels: Wipe down the panels with a dry or slightly damp cloth to remove dust.
- Seal the Edges: For a polished look, apply edge trims or molding.
- Inspect Your Work: Ensure panels are secure and aligned.
Maintenance Tips for Acoustic Wood Wall Panels
To maintain the beauty and functionality of your acoustic wood wall panels, follow these care tips:
- Regular Cleaning: Dust the panels regularly with a soft cloth.
- Avoid Moisture: Keep the panels dry to prevent warping.
- Inspect Annually: Check for loose panels or screws and tighten as needed.
Common Mistakes to Avoid
- Skipping Wall Preparation: A dirty or uneven wall can lead to poor adhesion and alignment.
- Using the Wrong Adhesive: Always choose an adhesive designed for wood.
- Rushing the Process: Take your time to measure, cut, and align for the best results.
Final Thoughts
Installing acoustic wood wall panels is a rewarding project that enhances both the acoustic performance and aesthetics of your space. By following this step-by-step guide, you’ll achieve a professional-looking installation that transforms your interiors.
Ready to enjoy better sound and style? Start your acoustic panel journey today!


Leave a Reply