
Carpentry Touch-Ups: Filling Holes, Touch-Ups & Smooth Finishes
Whether you’re a seasoned woodworker or a weekend DIY enthusiast, achieving a flawless finish in carpentry projects can be a challenge. Small imperfections like nail holes, dents, or scratches can detract from the beauty of your work. Fortunately, with the right techniques and materials, these minor blemishes can be easily repaired, leaving your wood surfaces smooth, polished, and professional-looking.
This comprehensive guide will walk you through the essential steps for filling holes, performing touch-ups, and achieving smooth finishes in your carpentry projects. From selecting the right fillers to sanding and staining, every detail matters when it comes to perfecting your woodwork.
Understanding the Importance of Touch-Ups in Carpentry
Carpentry is as much about aesthetics as it is about structural integrity. Even the sturdiest piece of furniture or cabinetry can look unfinished or sloppy if surface imperfections are ignored. Touch-ups are critical because they:
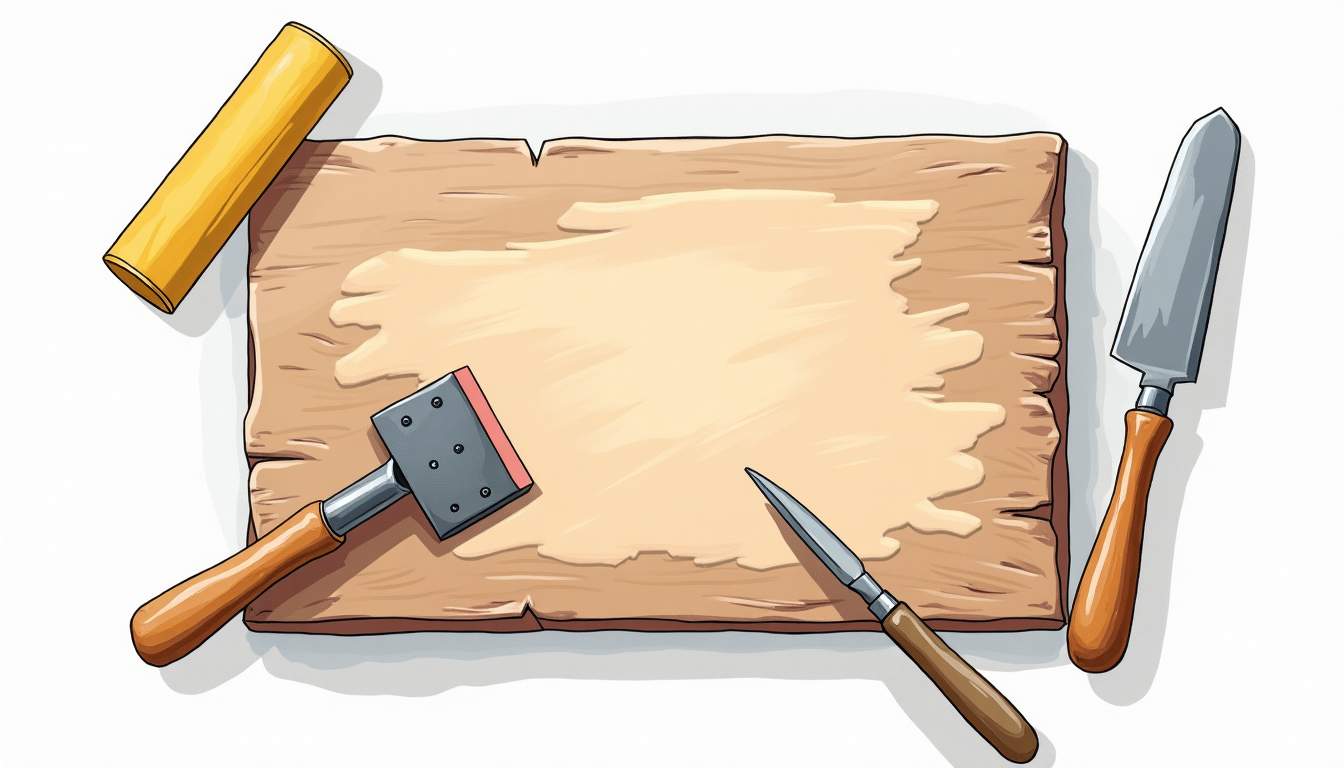
- Enhance visual appeal: Filling holes and smoothing surfaces create a more polished and professional appearance.
- Prepare surfaces for finishing: Paint, stain, or varnish adheres better to smooth, defect-free wood.
- Prevent further damage: Small holes or cracks can expand over time, especially with exposure to moisture.
Ignoring these imperfections can lead to an uneven finish, peeling paint, or even structural issues down the line. Therefore, touch-ups are not just cosmetic—they’re an essential part of the woodworking process.
In addition to these benefits, touch-ups can significantly extend the lifespan of your carpentry projects. When wood surfaces are properly maintained, they resist wear and tear more effectively, making them less susceptible to the elements. For instance, a well-sealed surface can prevent water from seeping into the wood, which is crucial for outdoor furniture that faces rain or humidity. Regular touch-ups can also help maintain the original color and luster of the wood, ensuring that your pieces remain vibrant and attractive over time.
Moreover, the process of touch-ups can also serve as a valuable learning experience for both amateur and seasoned carpenters. It encourages a meticulous approach to craftsmanship, where attention to detail becomes second nature. This practice not only improves the quality of individual projects but also enhances overall skills in woodworking techniques. By regularly engaging in touch-ups, carpenters can develop a keen eye for identifying imperfections and mastering the art of finishing, ultimately leading to more satisfying and rewarding woodworking endeavors. For professional assistance, you can visit PS Handyman Singapore to get expert support with your carpentry needs.
Common Imperfections and How to Identify Them
Nail and Screw Holes
One of the most frequent imperfections in carpentry are nail or screw holes left behind after assembly. These small holes are often unavoidable but can be easily concealed with the right filler.
Dents and Gouges
Wood is susceptible to dents and gouges from dropped tools, mishandling, or accidental impacts. These indentations can disrupt the smoothness of the surface and must be addressed before finishing.
Scratches and Surface Abrasions
Scratches, especially on softer woods, can occur during handling or sanding. While minor scratches might be less noticeable under stain or paint, deeper ones require filling and smoothing.
Cracks and Splits
Wood can crack or split due to drying, humidity changes, or stress. These imperfections often need special attention to ensure they don’t worsen over time.
Choosing the Right Materials for Filling and Touch-Ups
Wood Fillers: Types and Uses
Wood fillers are specially formulated compounds designed to fill holes, cracks, and dents in wood surfaces. They come in several varieties:
- Water-based fillers: Easy to clean up, low odor, and quick drying. Ideal for interior projects and small repairs.
- Solvent-based fillers: More durable and resistant to shrinking or cracking. Suitable for exterior or heavy-use furniture.
- Epoxy fillers: Extremely strong and waterproof, perfect for deep gouges or structural repairs.
- Stainable fillers: Designed to accept stains similarly to natural wood, allowing for a seamless finish.
Selecting the right filler depends on the type of wood, the size of the imperfection, and the desired finish. For example, water-based fillers are great for small nail holes on interior pine furniture, while epoxy fillers are better for deep splits in hardwood outdoor benches.
Putty and Wood Putty
Wood putty is a pliable compound often used for filling minor surface imperfections after finishing. Unlike fillers, which harden and can be sanded, putty remains somewhat flexible and is typically used on painted surfaces.
Touch-Up Markers and Sticks
For small scratches or color inconsistencies, touch-up markers, crayons, or sticks can be a quick fix. These products come in a range of wood tones and can blend minor blemishes without sanding or filling.
Step-by-Step Guide to Filling Holes and Imperfections
1. Prepare the Surface
Before applying any filler, ensure the surface is clean, dry, and free of dust or debris. Use a soft brush or cloth to remove sawdust and dirt. If the hole or crack contains loose wood fibers, gently remove them with a small chisel or utility knife.
2. Select and Apply the Filler
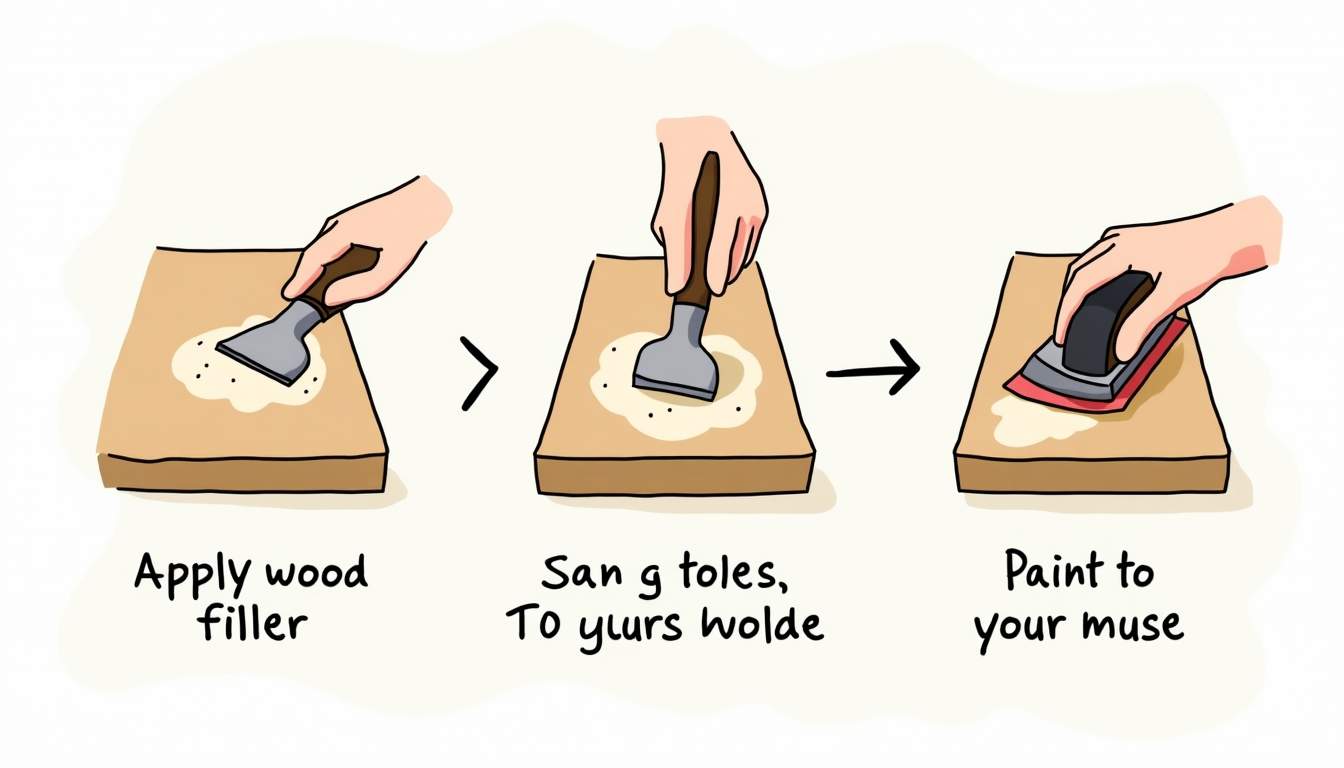
Choose the appropriate filler based on the project needs. Using a putty knife or a flexible plastic scraper, press the filler firmly into the hole or dent. Overfill slightly to allow for shrinkage as the filler dries.
For deep holes, it may be necessary to apply filler in layers, allowing each layer to dry before adding the next. This prevents cracking and ensures a solid repair.
3. Allow the Filler to Dry Completely
Drying times vary depending on the product and environmental conditions. Follow the manufacturer’s instructions carefully. Avoid rushing this step, as sanding or finishing too soon can damage the repair.
4. Sand the Filled Area
Once dry, sand the filled area with fine-grit sandpaper (usually 120 to 220 grit) until it is flush with the surrounding wood. Use a sanding block to maintain a flat surface and avoid creating dips or ridges.
For curved or intricate surfaces, sanding sponges or flexible pads can help maintain the shape while smoothing the filler.
5. Clean and Inspect
After sanding, wipe the area with a tack cloth or damp rag to remove dust. Inspect the repair under good lighting to ensure it is smooth and well-blended. If necessary, repeat the filling and sanding process for a perfect finish.
Techniques for Achieving Smooth Finishes
Proper Sanding Practices
Sanding is crucial not only after filling but throughout the entire carpentry project. Start with coarser grit sandpaper (around 80-100 grit) to shape and smooth rough surfaces, then gradually move to finer grits (150-220 grit) for a silky finish.
Always sand in the direction of the wood grain to avoid scratches that will be visible after finishing. For large flat surfaces, use an orbital sander to save time and effort, but hand-sanding is often necessary for edges and detailed areas.
Using Sealers and Primers
Applying a sealer or primer before staining or painting can help create an even finish. Sealers penetrate the wood to reduce blotching and improve adhesion of the topcoat. Primers provide a uniform base color and hide any remaining imperfections.
Choose sealers and primers compatible with your finishing materials. For example, use oil-based primers for oil-based paints and water-based primers for latex paints.
Staining and Painting Touch-Ups
After filling and sanding, touch up the color to blend repairs with the surrounding wood. For staining, use a small brush or cloth to apply stain to the filled area, wiping off excess immediately. Multiple thin coats may be necessary to match the surrounding color.
When painting, feather the edges of the repair with a fine brush to blend the touch-up seamlessly. For larger areas, repainting the entire panel may be the best option for uniformity.
Advanced Tips for Professional Results
Color Matching Fillers
One of the biggest challenges in touch-ups is matching the filler color to the wood. Some fillers come pre-tinted, but custom mixing may be necessary for perfect results. Adding small amounts of stain or pigment to the filler before application can help achieve a closer match.
Using Grain Fillers for Open-Grain Woods
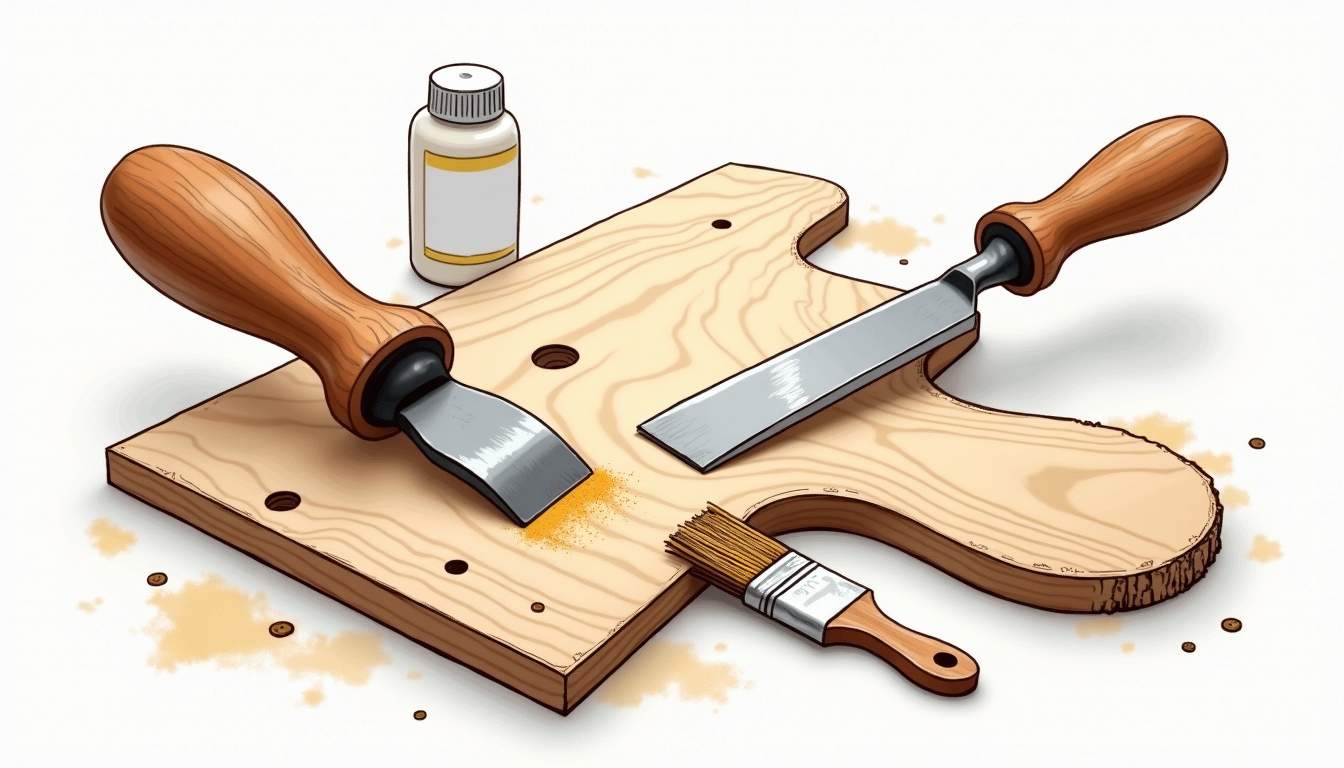
Open-grain woods like oak or mahogany have large pores that can create a rough texture even after sanding. Grain fillers are specially designed to fill these pores, creating a smooth surface ideal for high-gloss finishes.
Apply grain filler after sanding, then sand lightly once dry before finishing.
Repairing Veneer and Laminate Surfaces
Touch-ups on veneer or laminate require different approaches since these materials are thin and can’t be sanded aggressively. Use color-matched wood fillers or putty specifically designed for veneer, and avoid overfilling to prevent cracking or peeling.
Common Mistakes to Avoid
- Skipping surface preparation: Applying filler over dust or debris leads to poor adhesion and uneven finishes.
- Using the wrong filler type: Interior fillers may not withstand outdoor conditions, leading to failure.
- Not allowing adequate drying time: Rushing sanding or finishing can ruin the repair.
- Over-sanding: Removing too much filler or wood can create dips and uneven surfaces.
- Ignoring grain direction: Sanding or finishing against the grain causes visible scratches.
Maintaining Your Finished Carpentry Work
Once your carpentry project is complete with smooth, flawless finishes, proper maintenance will keep it looking great for years. Regular dusting, avoiding harsh chemicals, and protecting wood from excessive moisture are essential.
For outdoor woodwork, periodic resealing or repainting will protect against weather damage. Indoor furniture benefits from occasional polishing and immediate attention to any new dents or scratches.
Conclusion
Carpentry touch-ups may seem like small details, but they make a significant difference in the overall quality and longevity of your woodworking projects. By carefully filling holes, smoothing imperfections, and applying thoughtful finishes, you can transform rough or damaged wood into beautiful, professional-grade pieces.
With patience and the right techniques, anyone can master the art of carpentry touch-ups. Whether repairing a cherished heirloom or crafting new furniture, these skills ensure your work stands the test of time and looks its best.