
Common Causes and Fixes for Toilet Leaks
Noticing water pooling around the base of your toilet or hearing an occasional trickle when everything seems quiet? Toilet leaks are more common than many realize, and they can lead to wasted water, higher bills, and even damage to your bathroom floor. The good news is that many toilet leaks are straightforward to diagnose and fix without calling in a professional.
This guide breaks down the most frequent causes of toilet leaks and offers practical solutions you can tackle yourself. Whether it’s a slow drip or a steady stream, understanding what’s behind the leak is the first step to stopping it.
Leaks Around the Base of the Toilet
Worn-Out Wax Ring Seal
The wax ring is the seal between your toilet and the drain pipe on the floor. Over time, this wax can degrade, crack, or become misaligned, allowing water to seep out when the toilet flushes. If you notice water pooling around the base or a damp floor, this is often the culprit.
Fixing a wax ring leak involves removing the toilet, scraping off the old wax, and installing a new wax ring. It sounds intimidating, but with the right tools and patience, it’s a manageable DIY project. Make sure to turn off the water supply and drain the tank before starting. Additionally, consider using a wax-free toilet seal as an alternative; these seals are made of rubber or foam and can provide a more durable and long-lasting solution, especially in high-traffic bathrooms where wear and tear are more likely. For professional help, you can visit Plumber Singapore website for expert advice and services.
Loose Toilet Bolts
The toilet is secured to the floor with bolts on either side of the base. If these bolts become loose, the toilet can rock slightly, breaking the wax seal and causing leaks. Sometimes, tightening these bolts is all it takes to stop the leak.
Be careful not to overtighten, as this can crack the porcelain. Use a wrench to snug the bolts evenly, alternating sides until the toilet feels stable. If the bolts are rusted or stripped, replacing them is a good idea. In some cases, it may be beneficial to apply a bit of plumber’s grease to the threads of the new bolts to ensure a smooth installation and to help prevent future rusting. Additionally, while you’re at it, check the condition of the floor around the toilet; any signs of water damage or rot may indicate a more significant issue that needs addressing to prevent further complications down the line.
Leaks From the Tank
Cracked Toilet Tank
Although rare, a crack in the toilet tank can cause water to leak onto the floor. Cracks can develop from age, impact, or manufacturing defects. If you notice water pooling beneath the tank, inspect it closely for visible cracks or hairline fractures. It’s important to address these issues promptly, as prolonged leaks can lead to water damage in your bathroom, including mold growth and damage to flooring or cabinetry.
Unfortunately, a cracked tank usually means you’ll need to replace the entire toilet or the tank itself. Temporary fixes like epoxy may hold for a short time but aren’t reliable long-term solutions. When considering a replacement, take the opportunity to explore various models that may offer improved efficiency or features, such as dual-flush systems that can help conserve water. Additionally, if you’re replacing the tank, check the compatibility with your existing bowl to ensure a proper fit and function.
Faulty Tank-to-Bowl Gasket
The gasket between the tank and bowl creates a watertight seal. If this gasket deteriorates or becomes misaligned, water can leak where the tank meets the bowl. This leak often appears as water dripping down the side of the toilet or pooling on the floor. Regular maintenance can help prevent such issues; inspecting the gasket during routine checks can save you from more extensive repairs later on.
Replacing the tank-to-bowl gasket requires removing the tank from the bowl, so it’s a bit more involved. After turning off the water and draining the tank, unscrew the bolts holding the tank in place, replace the gasket, and reassemble carefully. It’s advisable to use a high-quality gasket made from durable materials, as this can significantly extend the lifespan of your toilet. Additionally, while you have the tank removed, consider checking other components like the flush valve and fill valve for wear and tear, as this is an excellent opportunity to address any potential issues before they become problematic.
Leaks Inside the Toilet Tank
Flapper Valve Issues
The flapper valve controls the release of water from the tank into the bowl during a flush. If the flapper is warped, cracked, or doesn’t seal properly, water will continuously leak into the bowl. This causes the tank to refill constantly, wasting water and increasing your bill.
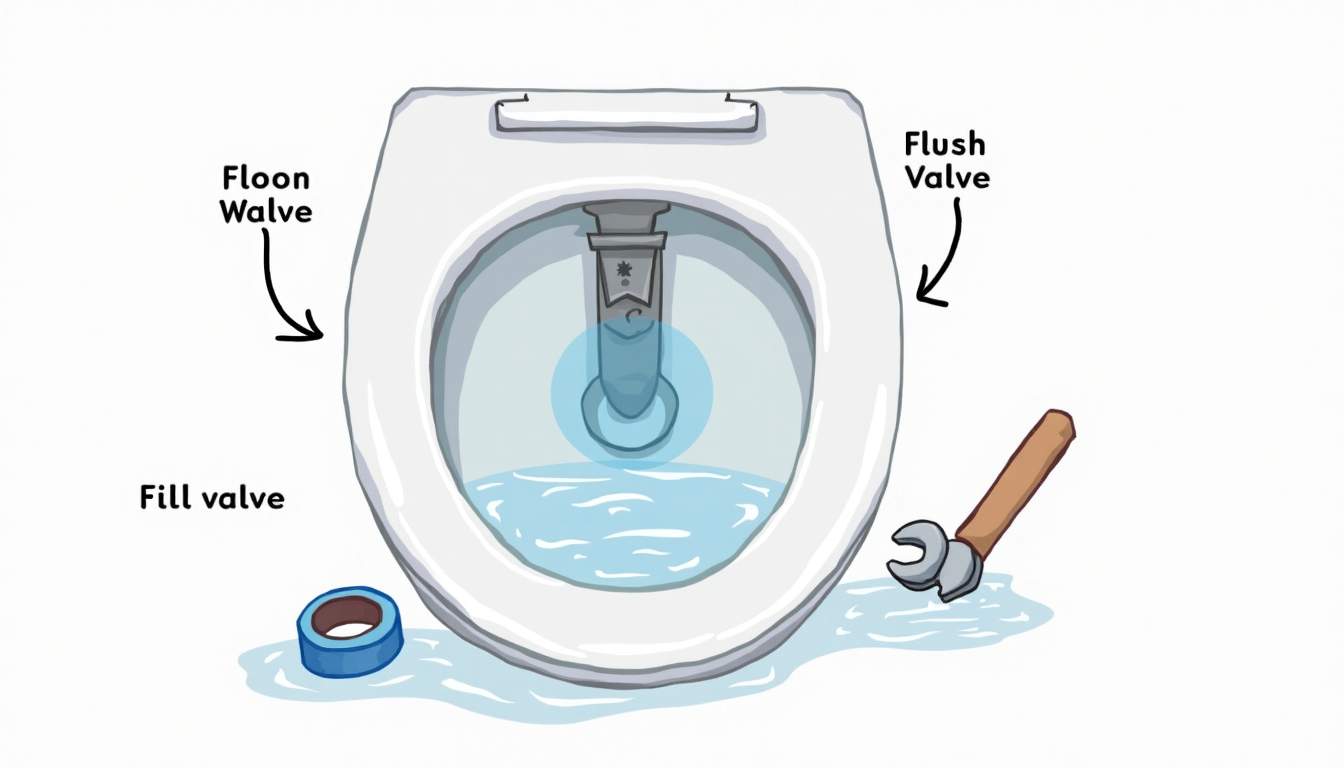
Testing the flapper is simple: add a few drops of food coloring to the tank and wait 15-20 minutes without flushing. If the colored water appears in the bowl, the flapper isn’t sealing correctly. Replacing the flapper is inexpensive and easy—just make sure to get the right size for your toilet model. Additionally, regular maintenance of the flapper can extend its lifespan. Over time, mineral deposits and debris can build up, affecting its performance. Cleaning the flapper and the seat where it rests can help ensure a better seal and prevent future leaks.
Fill Valve Malfunction
The fill valve controls the water entering the tank after a flush. If it’s set too high or is malfunctioning, water can continuously trickle into the overflow tube, causing a leak. You might hear constant running water or notice the tank refilling frequently.
Adjusting the fill valve’s float arm or replacing the valve altogether can solve this issue. Many fill valves are adjustable by simply turning a screw or sliding a clip. If adjusting doesn’t help, replacement kits are affordable and come with clear instructions. It’s also worth noting that older toilets may have outdated fill valves that are less efficient. Upgrading to a newer, more efficient fill valve can not only resolve leaks but also reduce water usage, contributing to both environmental conservation and savings on your water bill. Furthermore, when replacing the fill valve, it’s a good practice to check the condition of the supply line and the shut-off valve to ensure everything is functioning optimally, preventing any future complications.
Leaks From Water Supply Line and Connections
Loose or Damaged Supply Line
The water supply line connects your home’s plumbing to the toilet tank. Over time, the connection points can loosen or the line itself can develop cracks or corrosion, leading to leaks. Check the area where the supply line meets the shutoff valve and the tank for any moisture or drips.
Tightening the fittings with a wrench often stops the leak. If the supply line is damaged, replace it with a new flexible braided line. These are inexpensive and easy to install, requiring only basic tools. Additionally, when replacing the supply line, consider using a line with a higher pressure rating, especially if your home has older plumbing. This can help prevent future leaks and ensure a more reliable water supply to your toilet.
It’s also beneficial to periodically inspect the supply line for signs of wear, such as bulges or discoloration, which can indicate impending failure. Regular maintenance can save you from unexpected leaks that might lead to costly water damage and repairs.
Faulty Shutoff Valve
The shutoff valve controls water flow to the toilet. If it’s old or faulty, it might leak around the handle or the connection points. A leaking shutoff valve can cause water damage and should be addressed promptly.
Replacing a shutoff valve is a straightforward plumbing task but may require turning off the main water supply. If unsure, consulting a plumber is wise, but many homeowners handle this repair themselves. When selecting a new valve, consider opting for a quarter-turn valve, which provides a more reliable seal and is easier to operate compared to traditional gate valves. This can enhance the longevity of your plumbing system.
Moreover, after replacing the valve, it’s a good idea to test it by turning the water back on slowly and checking for leaks. This simple step ensures that the installation was successful and that your toilet will function properly without any further issues. Regular checks on the shutoff valve can prevent minor leaks from escalating into major problems, safeguarding your home from potential water damage.
Preventing Future Toilet Leaks
Regular maintenance can keep your toilet leak-free. Periodically check for signs of moisture around the base and connections. Listen for running water sounds when the toilet isn’t in use, which often signals internal leaks.
Replacing worn parts like flappers and fill valves every few years can prevent leaks before they start. Also, avoid using harsh chemical cleaners that can degrade rubber seals and gaskets.
When to Call a Professional
Some leaks are straightforward, but others might indicate deeper plumbing issues or require specialized tools. If you encounter persistent leaks after trying these fixes, or if you’re uncomfortable performing any repairs, it’s best to call a licensed plumber.
Professional plumbers can quickly diagnose complex problems, ensure repairs are up to code, and prevent costly water damage down the line.
Final Thoughts
Toilet leaks can be frustrating, but many common causes have simple solutions. Identifying the source-whether it’s the wax ring, flapper valve, or supply line-is key to fixing the problem efficiently. With a little knowledge and some basic tools, most homeowners can handle these repairs themselves, saving water and money in the process.
Keep an eye on your toilet’s performance and address leaks promptly. It’s one of the easiest ways to maintain a healthy bathroom and avoid bigger headaches later on.