
Top Tips for Installing Toilet Bowls Correctly
Installing a toilet bowl might seem like a straightforward task, but it requires careful attention to detail to ensure it functions properly and lasts for years. Whether you’re a seasoned DIY enthusiast or a first-time installer, understanding the right steps and best practices can save you from costly mistakes and frustrating repairs down the line. This guide offers comprehensive tips for installing toilet bowls correctly, covering everything from preparation to final testing.
Preparing for Installation: What You Need to Know
Before diving into the installation process, preparation is key. Taking the time to gather the right tools and materials, and understanding the layout of your bathroom plumbing, will make the job smoother and more efficient.
Gathering Essential Tools and Materials
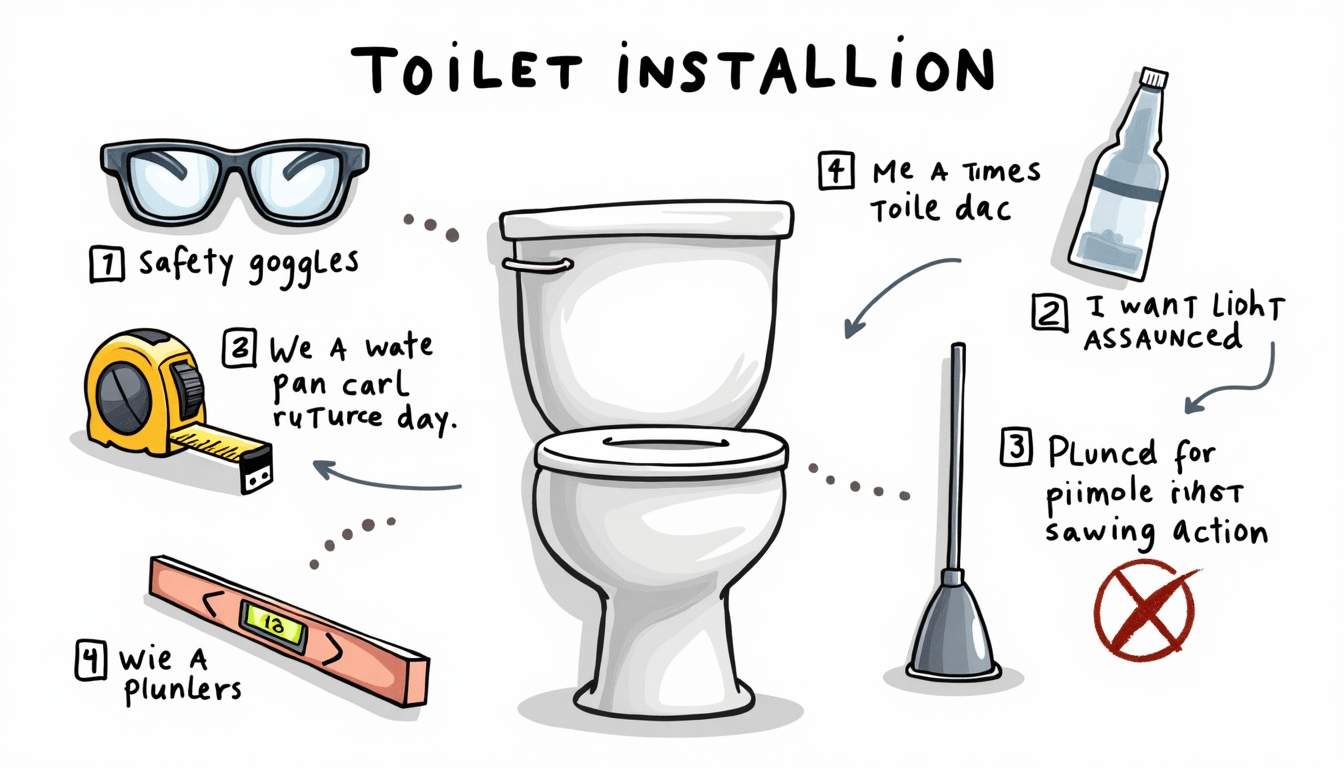
Having the proper tools on hand before you begin is crucial. Typically, you will need a wrench set, a screwdriver, a putty knife, a tape measure, a level, and a hacksaw (in case any adjustments to the plumbing are necessary). Additionally, make sure you have a new wax ring or a wax-free seal, closet bolts, bolt caps, and plumber’s putty or silicone sealant.
Using quality materials can make a big difference in the longevity and reliability of your toilet installation. For example, opting for a wax-free seal can simplify installation and reduce the risk of leaks. Furthermore, consider investing in a high-quality toilet that meets your needs in terms of water efficiency and comfort. Modern toilets often come with features like dual-flush options and ergonomic designs that enhance user experience while also conserving water.
Inspecting the Flange and Drainpipe
The flange is the fitting that connects the toilet to the drainpipe. Before installing your new toilet bowl, inspect the flange for any damage or corrosion. A cracked or broken flange can cause leaks and instability, so it’s important to replace or repair it if necessary.
Also, check the height of the flange relative to the finished floor. Ideally, the flange should sit flush with or slightly above the floor level to ensure a tight seal with the wax ring. If it’s too low, you may need to use flange extenders or adjust the flooring. Additionally, take a moment to inspect the drainpipe itself for any signs of blockage or deterioration. Clearing any debris or buildup will not only facilitate a smoother installation but also help prevent future plumbing issues. Ensuring that the drainpipe is in good condition will contribute to the overall efficiency of your plumbing system and can save you from costly repairs down the line. For reliable help or expert advice, you can visit Plumber Singapore to get professional plumbing services tailored to your needs.
Step-by-Step Guide to Installing the Toilet Bowl
Once you’ve prepared your tools and inspected the plumbing, it’s time to install the toilet bowl. Following a systematic approach helps prevent common pitfalls and ensures a secure, leak-free installation.
1. Turn Off the Water Supply and Remove the Old Toilet
Start by shutting off the water supply valve located near the base of the toilet. Flush the toilet to drain as much water as possible from the tank and bowl. Use a sponge or towel to soak up any remaining water. Then, disconnect the water supply line from the tank.
Remove the caps covering the closet bolts at the base, unscrew the nuts, and carefully lift the old toilet bowl off the flange. It may be heavy, so having a helper can be beneficial. Set the old toilet aside and clean the flange area thoroughly, removing any old wax residue with a putty knife. This step is crucial as leftover debris can compromise the seal of the new toilet. Take a moment to inspect the flange for any signs of damage or corrosion; if the flange is broken, it may need to be replaced or repaired before proceeding.
2. Install New Closet Bolts and Wax Ring
Place new closet bolts into the slots on the flange, ensuring they are aligned properly to fit through the holes in the toilet base. Next, position the wax ring on the flange. If you’re using a wax-free seal, follow the manufacturer’s instructions carefully.
It’s important to center the wax ring accurately to avoid leaks. Some installers prefer to place the wax ring on the toilet outlet instead of the flange—both methods can work, but consistency is key. Additionally, consider using a wax ring with a flange for added height if your toilet is particularly low or if the flange is set below the finished floor level. This can help ensure a proper seal and prevent future issues.
3. Position the Toilet Bowl Carefully
With the wax ring in place, lift the toilet bowl and align the bolt holes over the closet bolts. Lower the toilet straight down onto the flange, applying firm pressure to compress the wax ring and create a watertight seal.
Once the toilet is seated, gently rock it side to side to help the wax ring conform to the surfaces. Avoid shifting the toilet excessively, as this can break the seal and cause leaks. It’s advisable to have a second person assist during this step to ensure the toilet is aligned correctly and to help lift it if needed. After the toilet is in place, take a moment to check that it is positioned straight and not tilted, as this can affect both functionality and aesthetics.
4. Secure the Toilet to the Floor
Place washers and nuts onto the closet bolts and tighten them evenly. Be careful not to overtighten, as this can crack the porcelain. Tighten just enough to hold the toilet firmly in place without any movement.
After securing the nuts, snap on the bolt caps to cover the hardware for a clean finish. Use a level to check that the toilet is sitting evenly; if it rocks, use toilet shims to stabilize it before tightening the bolts fully. Shimming is an essential step that not only ensures stability but also prevents future wear on the wax ring. Once everything is secure, take a moment to step back and admire your work before moving on to reconnecting the water supply and testing for leaks. This final check is vital to ensure that your installation was successful and that you can enjoy your new toilet without any issues.
Connecting the Tank and Final Adjustments
For two-piece toilets, the tank needs to be attached to the bowl after the base is secured. This step requires attention to ensure no leaks occur between the tank and bowl.
Attaching the Tank to the Bowl
Place the tank-to-bowl gasket onto the bottom of the tank outlet. Carefully lower the tank onto the bowl, aligning the bolts through the holes in the bowl. Tighten the tank bolts evenly, alternating sides to prevent cracking the porcelain. Again, avoid overtightening.
Once the tank is secured, reconnect the water supply line to the fill valve. Turn the water supply back on slowly, checking for leaks around the base, tank bolts, and supply line connections.
Adjusting the Flush Mechanism
Open the toilet tank lid and adjust the fill valve and flapper as needed to ensure proper flushing and refilling. The water level should be set according to the manufacturer’s recommendations, usually marked inside the tank.
Test the flush several times to confirm smooth operation and no leaks. If the toilet runs continuously or doesn’t flush fully, fine-tune the chain length or float height inside the tank.
Common Mistakes to Avoid During Installation
Even small errors during toilet installation can lead to frustrating problems such as leaks, wobbling, or poor flushing performance. Being aware of common pitfalls can help you avoid them.
Skipping Flange Inspection or Repair
Installing a toilet on a damaged or improperly positioned flange is a recipe for leaks and instability. Always inspect the flange carefully and replace or repair it if needed before proceeding.
Using Old Wax Rings
Never reuse an old wax ring. Wax rings are designed for one-time use and lose their sealing properties once compressed. Always use a new wax ring or wax-free seal when installing a toilet.
Overtightening Bolts
Porcelain is fragile, and overtightening the closet bolts or tank bolts can cause cracks. Tighten bolts just enough to secure the toilet firmly, and use a level and shims to stabilize instead of forcing the bolts.
Ignoring Level and Stability Checks
A toilet that rocks or is not level can cause seal failure and discomfort. Always check the toilet’s level and use shims if necessary to ensure a stable installation.
Maintenance Tips After Installation
Proper maintenance after installation can extend the life of your toilet and prevent common issues.
Regularly Check for Leaks
Inspect the base of the toilet and the water supply connections periodically for any signs of water leakage. Early detection can prevent water damage and costly repairs.
Keep the Toilet Clean
Regular cleaning prevents buildup of mineral deposits and keeps the flushing mechanism working efficiently. Use toilet-safe cleaners and avoid harsh chemicals that can damage seals and components.
Monitor the Flush Performance
If you notice the toilet running continuously or flushing weakly, address the issue promptly. Often, a simple adjustment to the flapper or fill valve can restore proper function.
When to Call a Professional
While many homeowners can successfully install a toilet with the right tools and instructions, certain situations warrant professional help.
Complex Plumbing or Damage
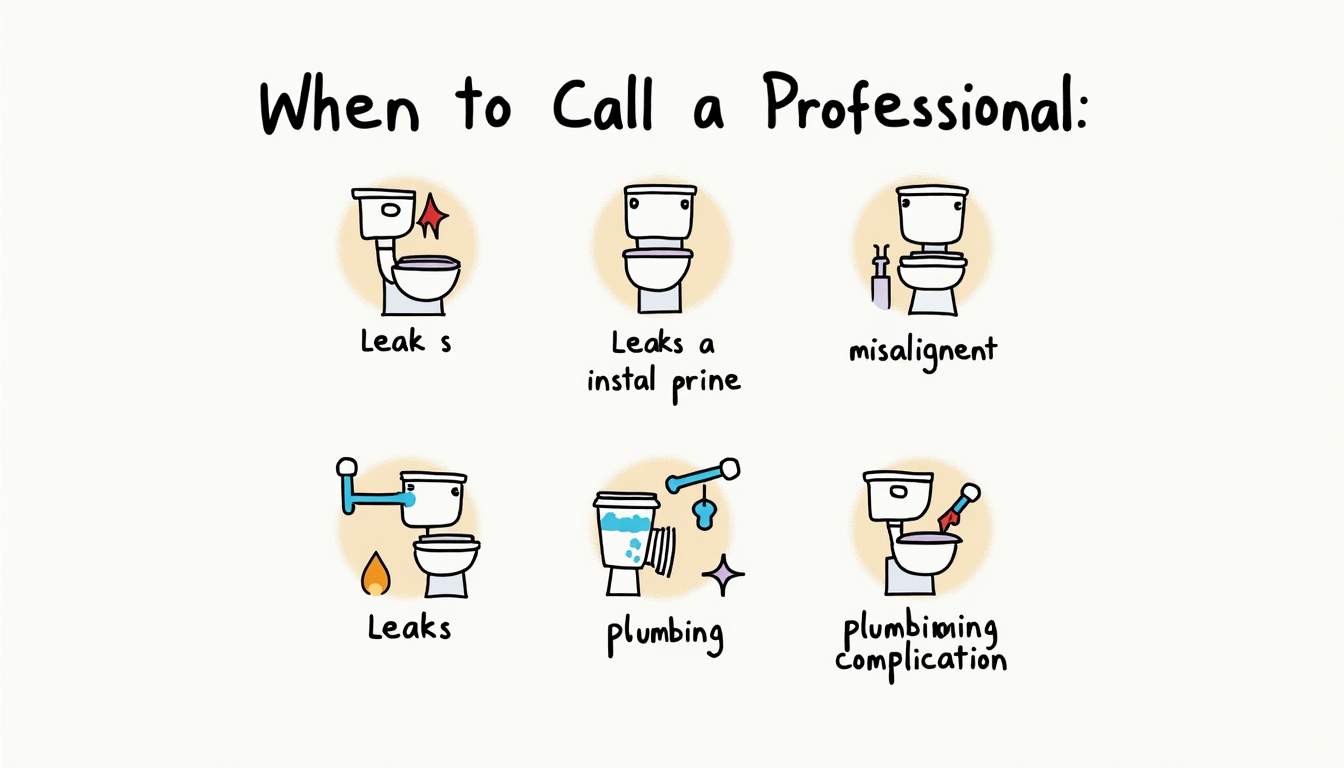
If the flange is severely damaged, the drainpipe needs replacement, or your bathroom plumbing is outdated or non-standard, a plumber’s expertise is invaluable. They can ensure the installation complies with local codes and functions reliably.
Persistent Leaks or Installation Issues
If you encounter leaks that you cannot resolve, or if the toilet remains unstable despite your efforts, it’s wise to consult a professional. They can diagnose hidden problems and provide a lasting solution.
Conclusion
Installing a toilet bowl correctly requires careful preparation, attention to detail, and patience. By following these top tips—inspecting and preparing the flange, using quality materials, positioning and securing the toilet properly, and performing final adjustments you can achieve a reliable, leak-free installation that serves your household well for years to come.
Remember, when in doubt, don’t hesitate to seek professional assistance to avoid costly mistakes. With the right approach, installing a toilet can be a rewarding DIY project that enhances your bathroom’s functionality and comfort.